(edited)
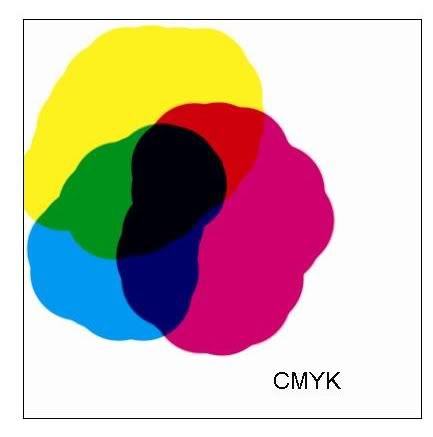
This next quick tutorial might help if u need a useful palette of colours, in order to paint with photoshop. The fact that its hand made" will help you to understand how colours interact with each others . As u maybe know u can make all ranges of colours from the primary colours which are Red, Blue and Yellow...even the black colour is a combination of the primaries.
But the main purpose of this tut is to get a cool little palette that can be kept in the corner of ur screen while working on a picture.
U will tell me, "there is yet some colour palette in Photoshop Naïko!", yea but, just try to do a digital painting using them and u will soon realize the lack of ergonomy.
So here we go:
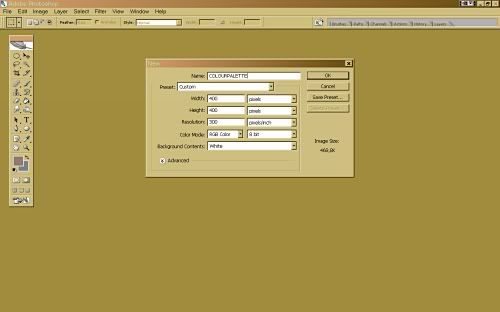
Create a new document, no more than 500x500 pixels big.
GREY BACKGROUND. Create a layer.
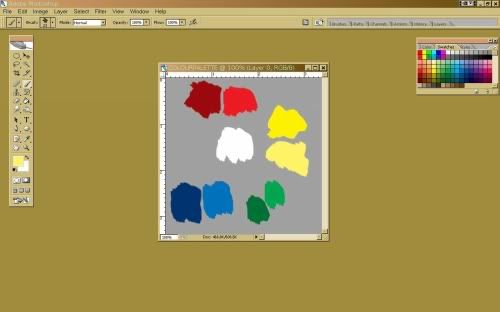
Select Brush Tool with any simple brush and open the COLOR palette of Photoshop. Pick the Deep Blue color. Paint a stain of colour on a border. Select another blue, a warmer one this time. Paint another stain just beside (on the right on the screenshot). Now the reds...same thing, first red will be dark, the other one can be any bright red....U can use only RGB colours, which is very good cuz they are the real primaries. Keep going...;same thing for yellows... u can "cheat" and do the greens ... that wil make a circle of colours...
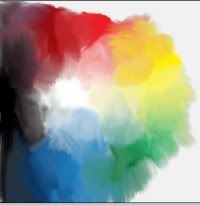
Now select the SMUDGE TOOL at 85% hardness minimum, better to use a wacom cuz ull gonna have to make a lot of movement with ur hand...try to reach a certain gradation of colours...following the circle of colours.
There still is nothing in the center...center is for highlighted colors to white. Select the "finger painting" option (top bar) with white colour selected. Start to paint from the circle of clors to the center, here too , the movement of your hand has to create a gradation. Eachtime u click on the left button of the mouse/Wacompencil, u add some white in the smudging.
Now the black is hard to optain with primaries (not that hard with real paint though). So select ur brush tool again, and add black on the empty zone...Then smudge to the primaries..U can even get some greys to the center. (this can be done on another document though,to keep the colours clean if some of urs prefer).
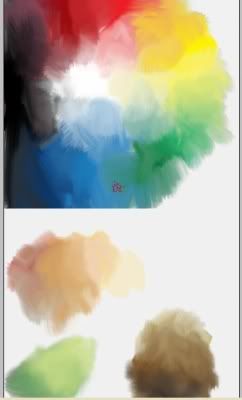
Now it should look loike this:
Then Ull have to crop the pic so that theres no white border left.
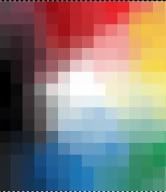
U can go to FILTER>PIXELLATE>MOSAIC and get sthg like this :
(depends of the needs)
So at this point u have the main chromatic circle with highlights... but we need something else: we need palettes to create easily flesh tints, earth tints etc...!
You will use this first palette by picking colours here and there (well its bot chaos, its very logical work: u pick the tertiary colors (green, orange, violet) and u mix them with different %,after that generally u add some yellow+white to enlight colours and start to paint then smudge (new document or add a space with image size like on th screenshot below:)
Top:primary and secondary colours
Bottom: tertiary colors/"dull" colours (i dunno the name in english)
-----
Now finally crop the non-required white borders.;..
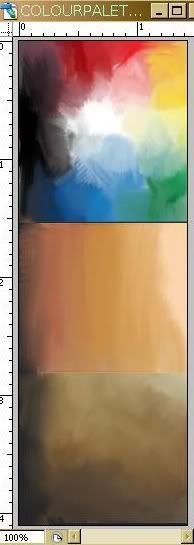
Here's my own Color Palette
U can just save it on your hardrive but its lazy, and u will learn nothing from colour interaction...that would be a shame!
Main chromatic palette+Flesh tints+EarthTints.
Done!
