ReyRey wrote:
kinetic_be wrote:
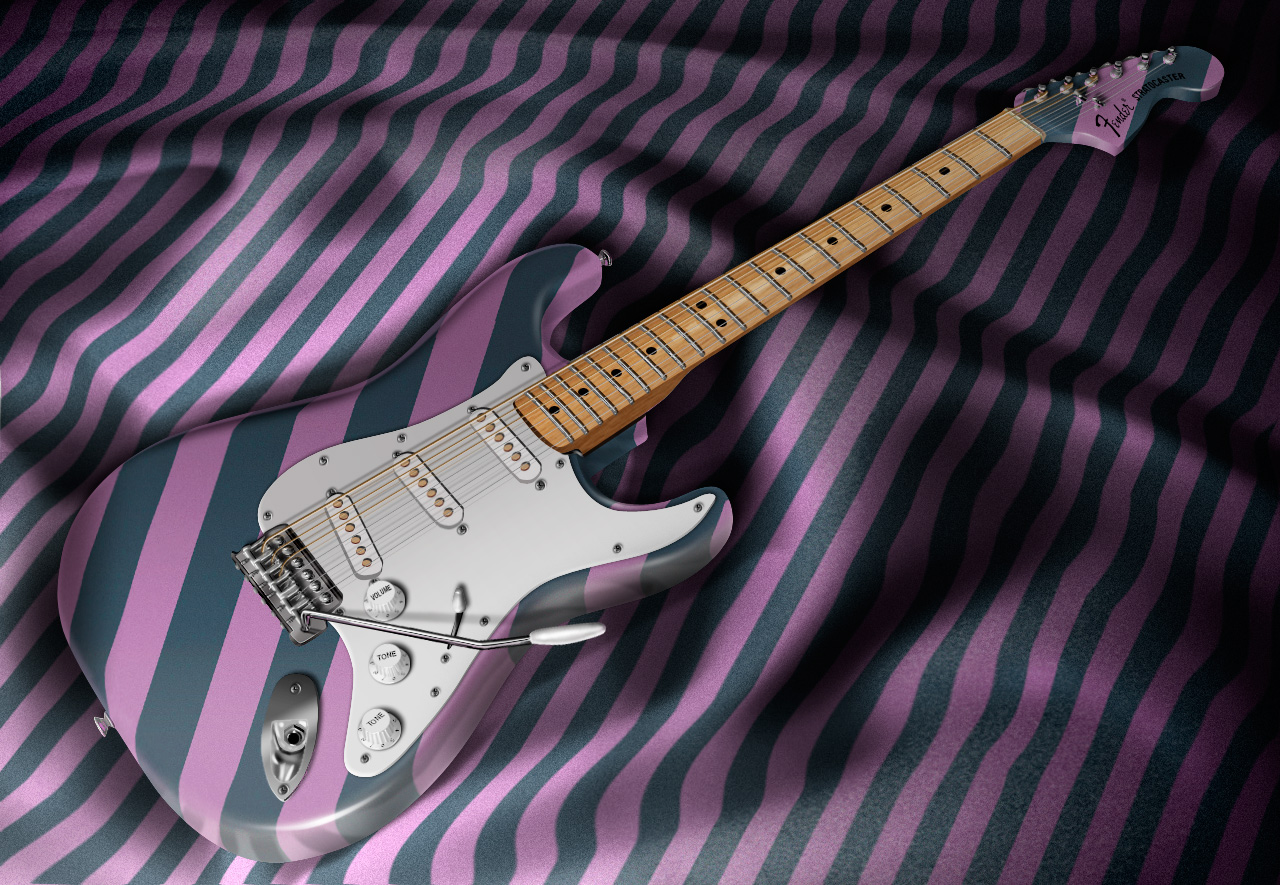
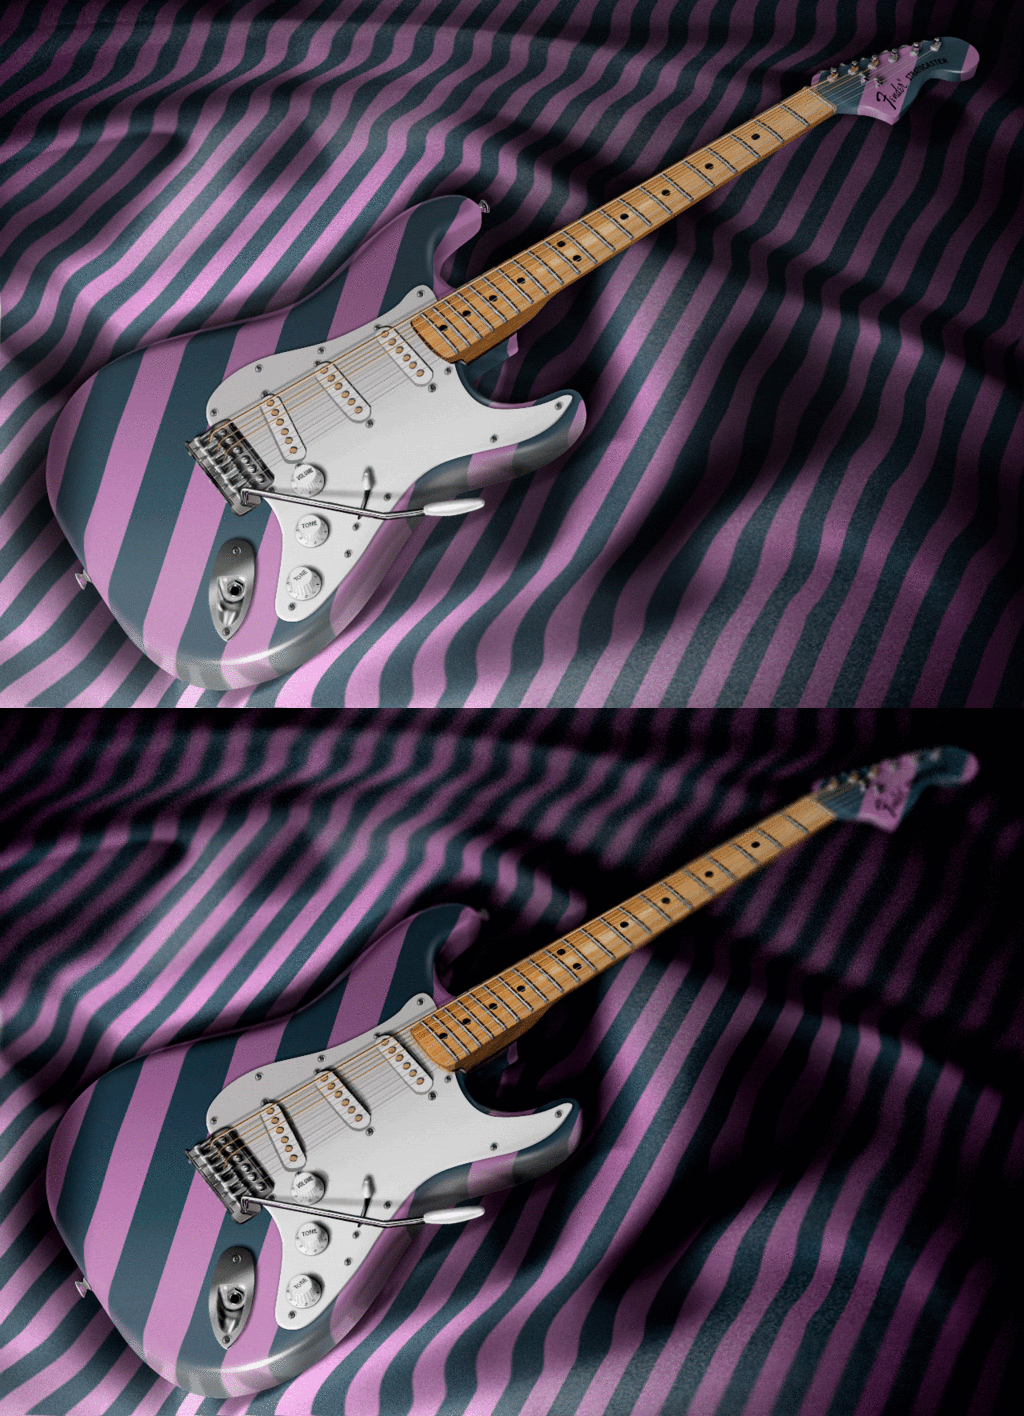
Rey, just out of curiousity, how long did you spend on making that guitar?
The photo-realism is so crisp!
Thanks for sharing the video!
I don't remember: Probably about 5 hours or so.

I don't know about anyone else but when I started drawing digitally I learned a lot about lighting and object interaction from backwards engineering.
When wanting to learn the best ways to draw an object with consistency. Just getting an image and breaking it down seeing basic shapes and seeing how the light interacts with each element of the image has helped me a lot and I want share that with you guys.
Back in GCSE level, I found trying to draw art on paper really hard to do, because I couldn't eye ball the proportions but since PS and GIMP I have improved a lot, I might draw something up for this thread If I have time.
I have a little check list on notepad that I do when drawing:
I make my image 200x200px too large to map out extra info or bleed space...
then I go through the list
1)Basic shape outline of foreground elements goes in.
2)How the object will interact with background elements. Like leaning on something made of cloth and arms in clothing kind of things
3)Basic outlines of backdrop elements that interact with the foreground.
4)Misc background element outlines
5)Then I opt for a light source direction and a little * goes in the bleed space to indicate where the light is coming from and in the opposing corner a light blue box with a drop shadow and text to show me how the shadow interacts so I can reference it later can be tight to the box or far it just needs to show me what angle the light is at and the text tells the the extra info I need.
6)Blocking shades
7)Middle tones
8)Blocking detail
9)Middle tones for blocking detail
10)Line art to add detail
11)shading using the drop shadow reference
12)Then effects and brush variants to add texture to objects
13)Then once things are looking good as drawing goes start adding the little things that make photo realism.
14)Reflections,
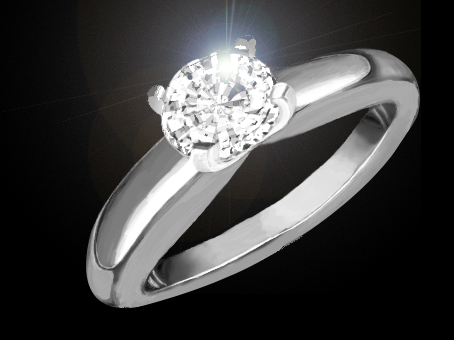
15)Light flares,
16)Focal Depth of field if needed but should have been done in blocking to save doing extra detailing work unless you want multiple DOF's
All the time taking breaks to let your mind cool down so you can see what needs work because one error can ruin the whole image. Total time ongoing after everything accounted for can be maybe 24-30 hours plus depending on how "Busy" a photo real image is for example basic portraits with plain backing, verses outdoors.
To get these steps in my second year of my degree I used this method and I want to know if anyone else used this following method?
Basically for the first few reverse engineered images I did:
I removed Reflections, flares, Etc (can't really affect DOF) then removed all textures to see what it looks like at base tones with blending done with a blur filter.
Then outlined each recognisable object with simple shapes with a 3px brush.
Then separated each shaded shape into 2-3 shades to see how it would look as a blocking drawing.
I know it's tedious but over the time it's interesting what you learn when you reverse engineer a photo, so far it has helped my free hand drawing of people and cars and motorbikes.
ATM I am planning on drawing something simple with not many background objects for now in GIMP (Cos I can't afford PS yet).
I have done a motor bike from scratch from a bird but I had only 8 hours and it only got past blocking before I had to post

Me thinks I need to buy membership to have more time to work on my drawing but still, not a bad start I hope considering I did it on a track pad on my little net book.
http://photoshopcontest.com/view-entry/156865/birds-chest-harley.html
It got to stage 11-12 and I had to stop or I would run out of time. So I couldn't start doing fine details or anything but I thought for a quick one it wasn't a bad start

