As I spent several hours on the "Windy Run"-contest to make this
http://photoshopcontest.com/images/queue/fullsize/138235d0eb9ab8335788241e91939d1515128b18698375.jpg
looking like this
http://photoshopcontest.com/view-entry/96538/puppet-run-on-strings.html
I want to share the experience I made whilst those hours with you. You will probably find some strange english words in this text, thats why I am not a native-speaker.
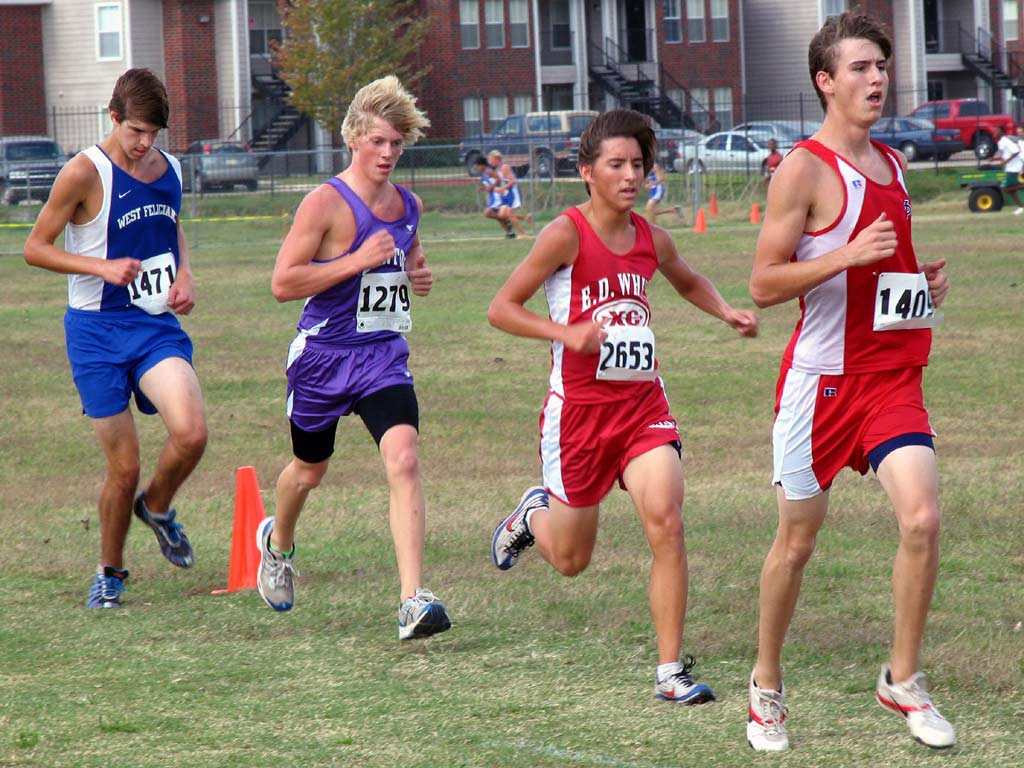
The first step is to find a pic that can be transformed into a "puppet-entry", or finding out if a given source-pic is appropriate for such a chop:
- The person on your pic should show as much skin as possible (and allowed).
- The position of this person should be "open", like the guys in the "windy-run", and not crouched, so that you can see most of its extremities (limbs).
- Avoid structured backgrounds. Grass, woods, sky, sand or water in the background make your chop much easier.
This image shows where I usually place the joints of the puppet:
Next step is cutting the person out of the background. First cut out and copy/paste the whole person (including clothes), and in a second step cut out all parts that are not covered with clothes (= the skin). So you have three layers: person with background, person without background and parts without clothes (including head and hair).
Next step is making the skin look like a puppet. Select the shape of the "skin-layer". I use the smudge-tool (50%) going from inside out. The selecting before keeps the sharp edges around the bodyparts. Pay attention on the anatomy of the person and be especially carefull in the face-region. Use the smudge-tool until the skin looks like the plastic of a barbie. You can also plastify the hair!
In the next step we already come to the constructing of a puppet-joint. Here is another point where you need a good eye to the reality and anatomy of a human being. Figure out in which angle the extremity is held and place a round selection with a sharp edge in a new layer over the position you want to build the joint. Fill it with some brown color out of the former skin. Deselect it and transform it into the correct shape and position. You can use some varying browns for each joint, to simulate light and dark regions on a body.
Now cut the opposite part of the extremity in shape. Be also careful with the anatomy here to make it look realistic.
You see, we are on the way. Next step is to replace the excessive parts beside the knee by background. Inverse the selection from the last step, it will avoid that you overpaint parts that you still need! Take the clone-stamp-tool and pick up some background from the background-layer (Press ALT and klick). Be careful with selecting the region where you pick it up, so that nobody can see the stamping in your finished pic. After selecting go up to the skin-layer and clone the background over the excessive parts of the knee.
To give the joint a shadow open a new layer and create a round selection with about 10 to 20 pixel soft edge. Fill it black and turn down the transparency to 40 %. Deselect it. Select the shape of the brown joint-part we created before, inverse this selection and delete.
Now you can merge the "skin-layer" with the "brown-joint-part-layer" and the "shadow-layer". Repeat the steps before on each bodypart you want to make a puppet joint. After this, create a new layer for the rope-pieces inside the joints. Select a brush-tool (about 2 pixels wide) and a shiny yellow color and paint the rope pieces by hand. Take care for making it realitcly looking. After painting the rope pieces cut the ends of the rope to bring it into the right position.

Last Step: The strings. Merge the "skin-layer" with the "person-without-background-layer". Then I created a new layer with a fine black line reaching from the top to the bottom of the pic with about 60 % transparency. Duplicate the layer and bring it (with holding SHIFT) to the right position. Cut the excessive piece of the string down to the bottom. Repeat this with all strings you need for the puppet (dont forget to merge layers inbetween to avoid hundreds of layers). Cut away all parts of the strings that are covered with the persons body. Last step is creating the holes where the strings are fixed with the puppet. take the brush-tool (2 pixels) with black color and just klick on the places where the strings end on the puppet. Voilá, ready!
If you like you can add another puppet-detail: The mouth. Just select the mouth-region and copy-paste. Create a new layer that is under the mouth-copy. Select the mouth-shape from the mouth-layer and fill it black (60 %). Now move it one step aside and up/down, so you get a small black edge on two sides of the mouth-piece.
Thats all.


